

Camera Angles in Product Photography
Hi everyone! Hope you're all having a great start to your Friday. I'm excited to dive into this topic because it's a fun one (at least I think so) and great for visualizing all the different ways that you can capture your product photos. Whether you're a seasoned pro or just starting out, I hope this post will inspire you to get outside of your comfort zone or just view things in a *new light*... Get it? I crack myself up sometimes. Don't mind me... Now I'm sure most of you have probably already explored a lot of these angles but it's always fun to revisit the ones that you haven't used in a while.
All of us have our "go-to" angles and it's the ones we've either built our style with or have simply grown to love the most. Absolutely nothing wrong with that but sometimes it's good to consider other options so that you're making an informed decision about which angle will work best for the products you're shooting and what you're aiming to convey. Let's talk about all the various angles you could shoot in and when you might want to use them.
The Straight-On (Front Angle)
Self-explanatory? Why yes. This angle is one of the more versatile angles because there is so much room to explore in how you build out your story. By shooting straight on, you're invited to play around with height and depth. You can choose to place things closer or further away from the camera to draw your eye into the middle or you can stack props or items on top of each other to create levels and lead your eye across the image that way.
This angle works extremely well for typical e-commerce shots, product shots where the label is the focus, group shots, banner/header photos, and photos with tall items where you would want to see the sides or "inside" of your props or products. This could include tall food items like burgers or layered desserts. One of the main reasons we like to use this angle is because it helps us provide focus and attention to what's right in front of our scene. It's very much a "here I am" type of shot. Very forward and blunt, you know what I mean?
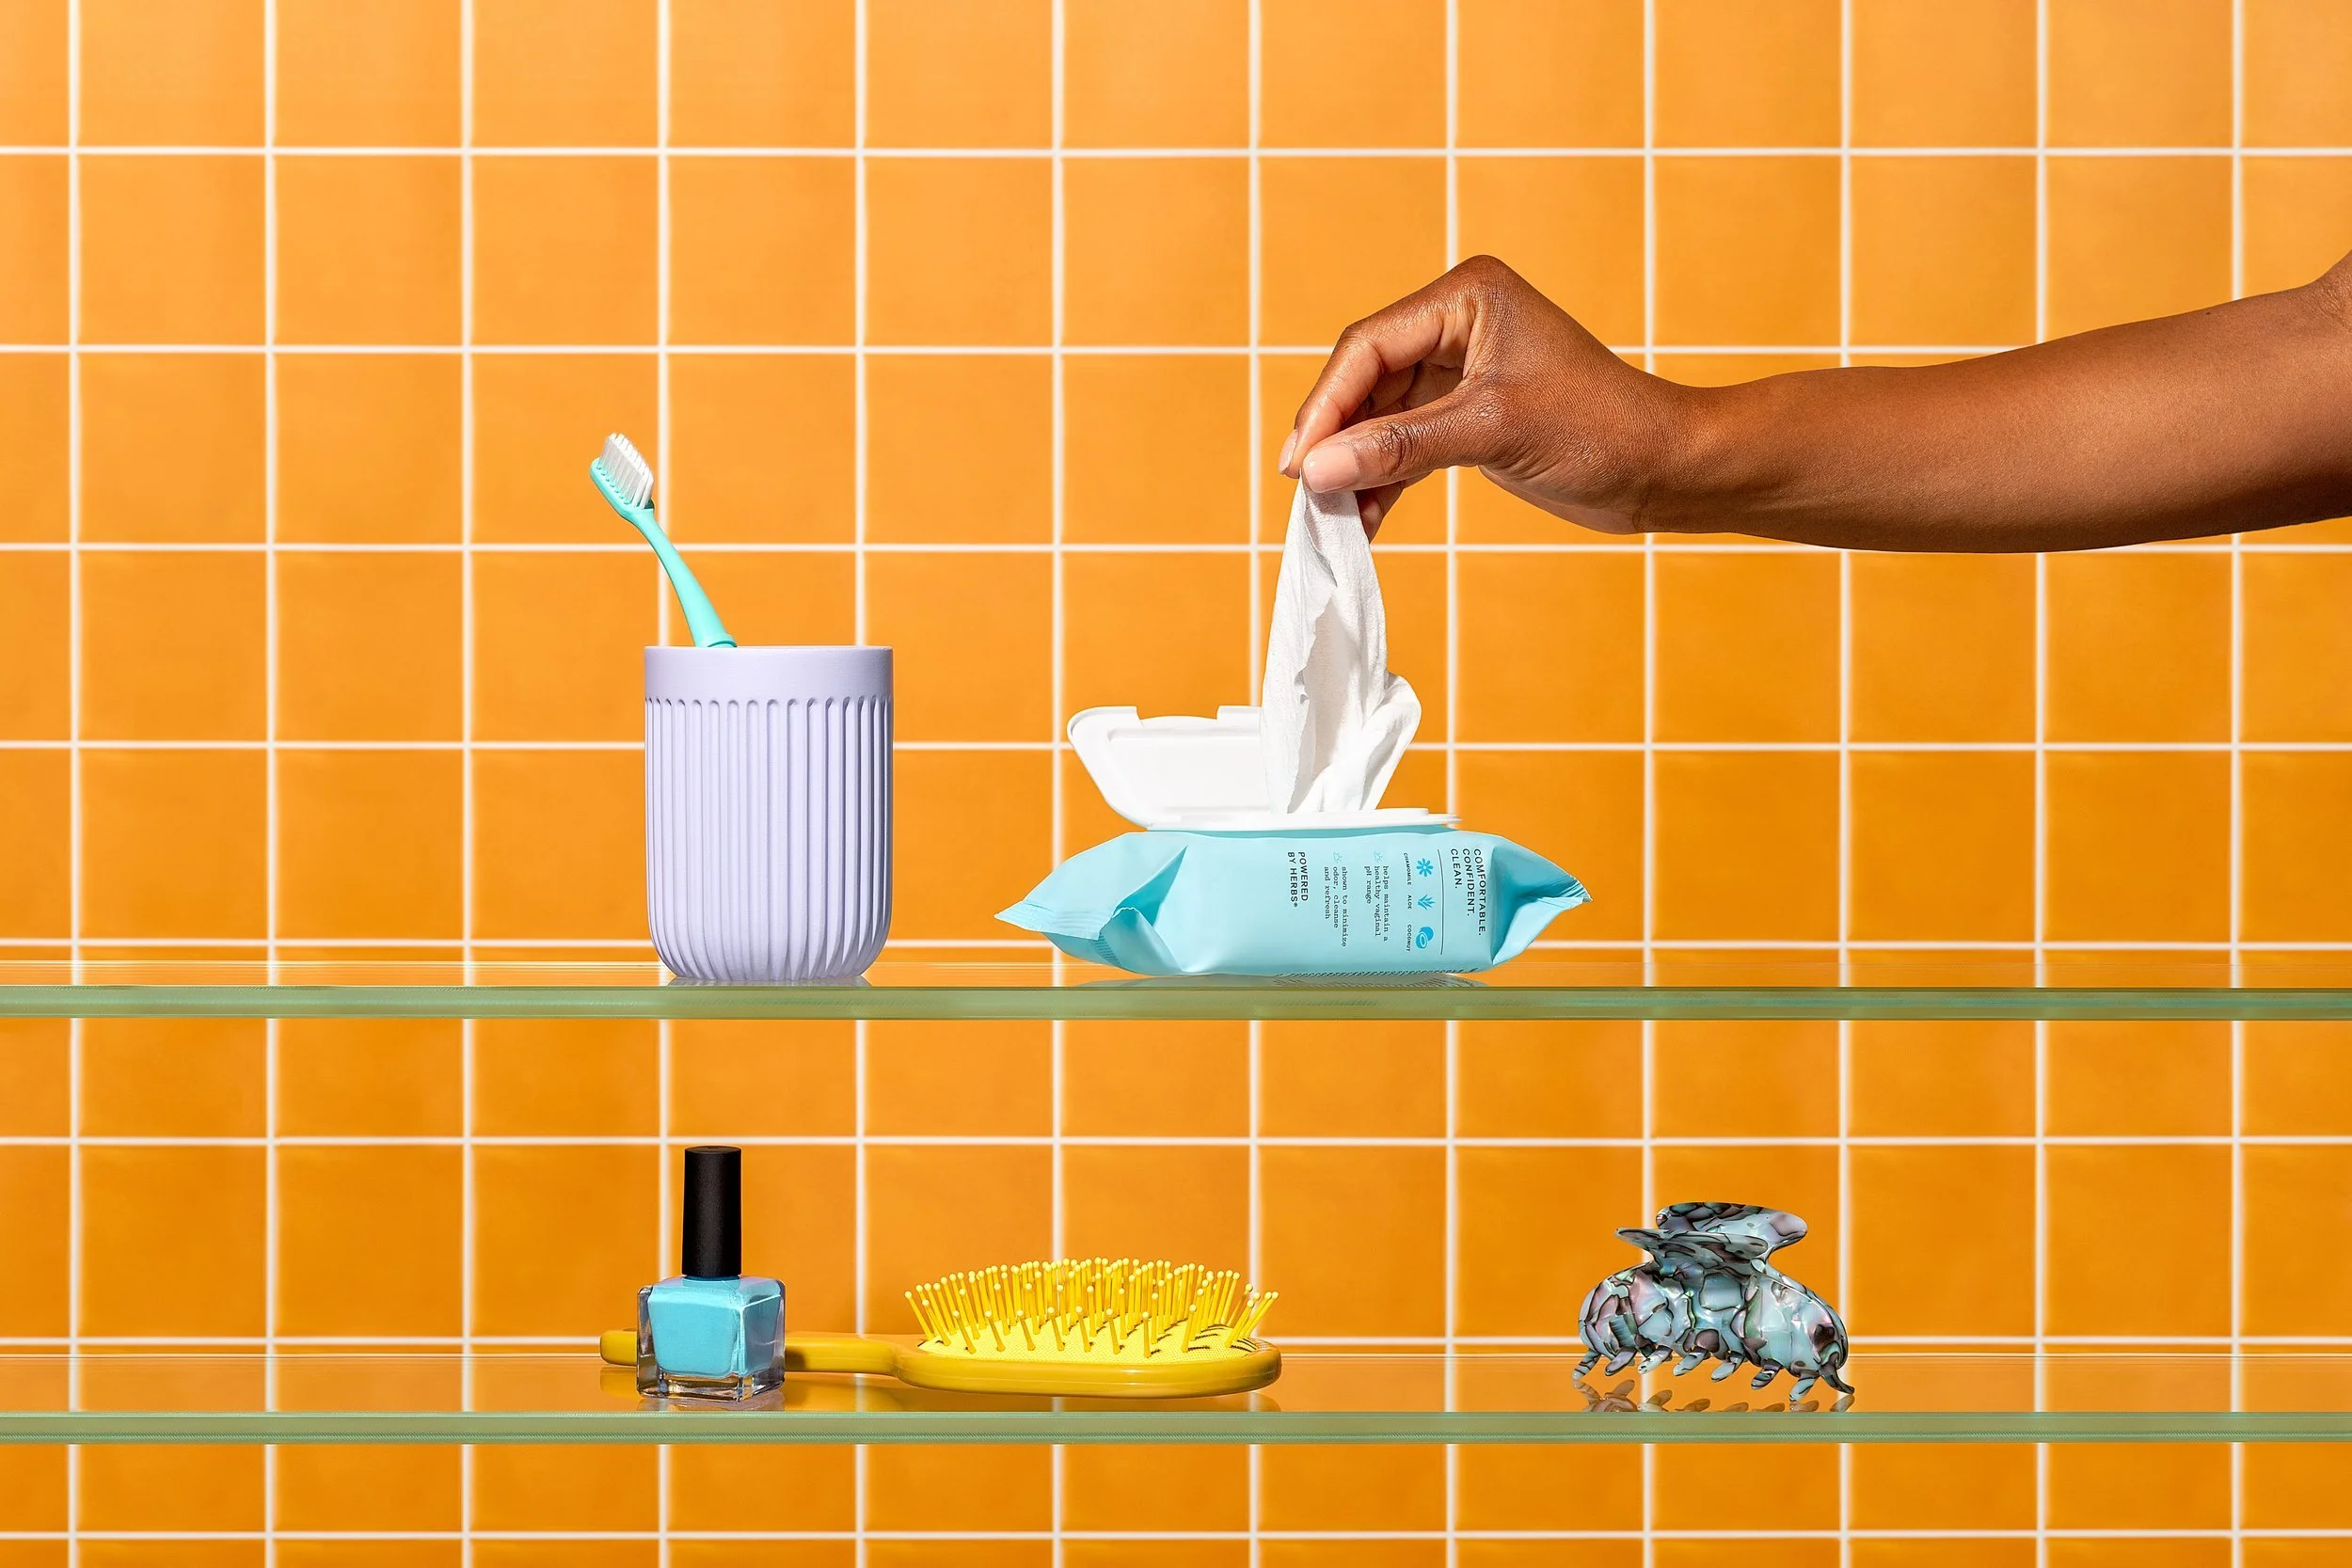
The "Angled" Shot (25 to 75 Degrees)
This type of angle is definitely one of our favorites. As you can see from the name, this angle is pretty versatile in that it can pretty much encompass anything between a 25 to 75 degree angle. Essentially, we're talking about everything between a straight-on and overhead angle. Whether you shoot from the side or from the front, you're guaranteed to add some interest to your images. It's sort of a "playful" angle and yet very realistic at the same time because it offers the viewer a better "view" of the products. See what I did there... LOL! It's how some of us might look at a table and view real objects by looking down at them.
This angle can be a great way to show two different sides of your products/props. For example, you may want a shot where you can see both the product's label and texture at the same time or maybe the garnish of a cocktail and the side of the cocktail glass. I'm getting thirsty just thinking about it! This type of angle works amazing for skincare products, food/beverages, tabletop scenes, "pattern" shots, table spreads, and more.
The possibilities are pretty much endless. Just be mindful of labels and whether that's important for your shots. Sometimes the angles between 45 and 75 can heavily focus on the tops of products which may not be what you want in the end.

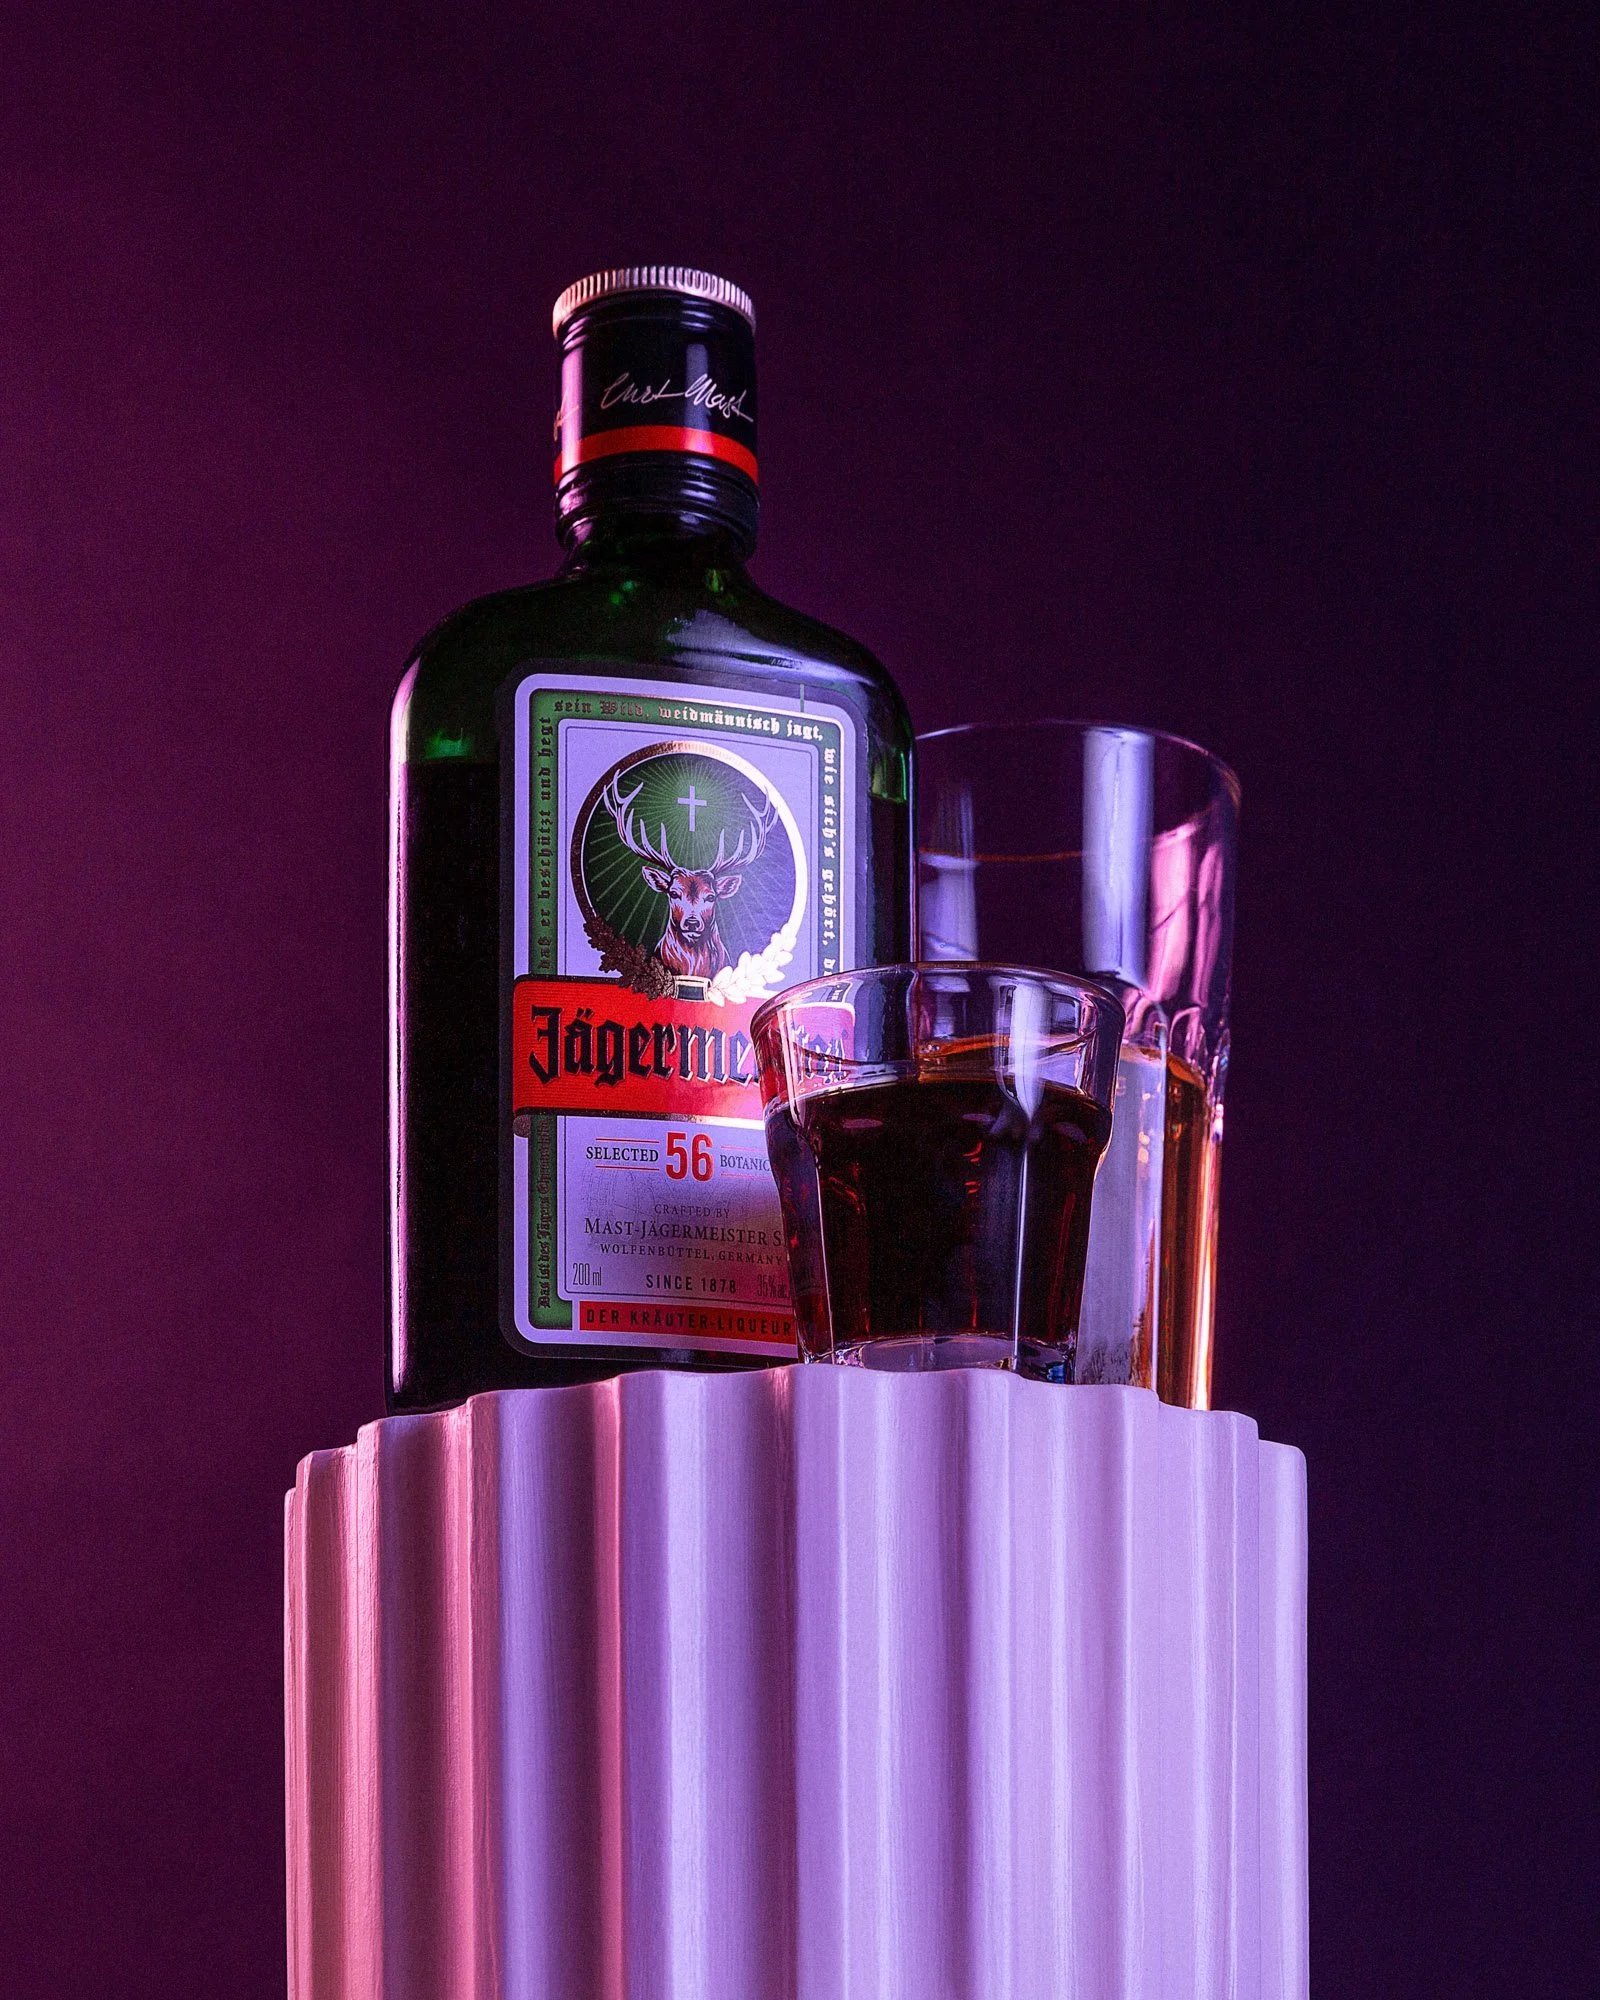
The Hero Shot (Low Angle)
This angle is exactly what it is, the hero shot! Like most film and action movies, anytime there's a shot of the superhero or villain filmed from a low angle (looking up), there's a sense of power and heroism in that character and the same can be applied to photographs shot in this angle. By shooting low and pointing up, we're giving the product or prop all the glory. It can make your subject look bigger, taller, and more dominant.
This type of angle can work for a variety of different products as long as you're able to prop the item up in someway such as a block or a glass surface. The angle at which you shoot doesn't have to be extreme either. Even if you shot slightly below your product, you can give it that oomph that you're looking for.
The Flat-lay (Overhead Angle)
Thanks to IG, this angle became super popular several years back and for many good reasons. It was such a fun angle in which you could truly play around with composition and arrangement of products and props. Personally, I find it the most limiting because depending on the product, it might not always look it's best. Sometimes it could confuse the viewer if we're only seeing the top of a product and that's why sometimes you're forced to shoot the product on its side for you to view what it is which isn't always possible, especially with food.
With that being said, flat-lays can almost provide a challenge for you. You might think, ok how can I make this shot look less flat and have more dimension? Maybe you want to place items on top of each other or perhaps add texture via fabrics or materials to create a more interesting shot. Flat-lays work really well for foods that have all the detail on top, table food scenes, "pattern" shots, texture shots, ingredients, "what's in my bag" type shots, and so forth.

The Dutch Angle (Dutch Tilt)
Ok, this one's a fun one and one that most of us may not even consider in product photography and that's simply because it can feel like the whole scene is unbalanced. However, if done right, it could look VERY cool. Essentially, the dutch angle (also called the dutch tilt) is where you tilt your camera on its x-axis so that your horizon is off-center. That might sound really weird to do because I think most of us have been taught to shoot in a way where everything is "balanced" so to speak. However, this type of angle has been done in films to create a sort of unique and disorienting view of the world.
While we haven't shot this way recently, we do have a few shots of our own in this angle that we photographed very early on. The "dutch tilt" may not work for a lot of subjects so it truly depends on the client (or your personal project) and how "funky" you want to take the images. By doing the dutch tilt, you might offer your viewer an alternative perspective that they might have never seen before.
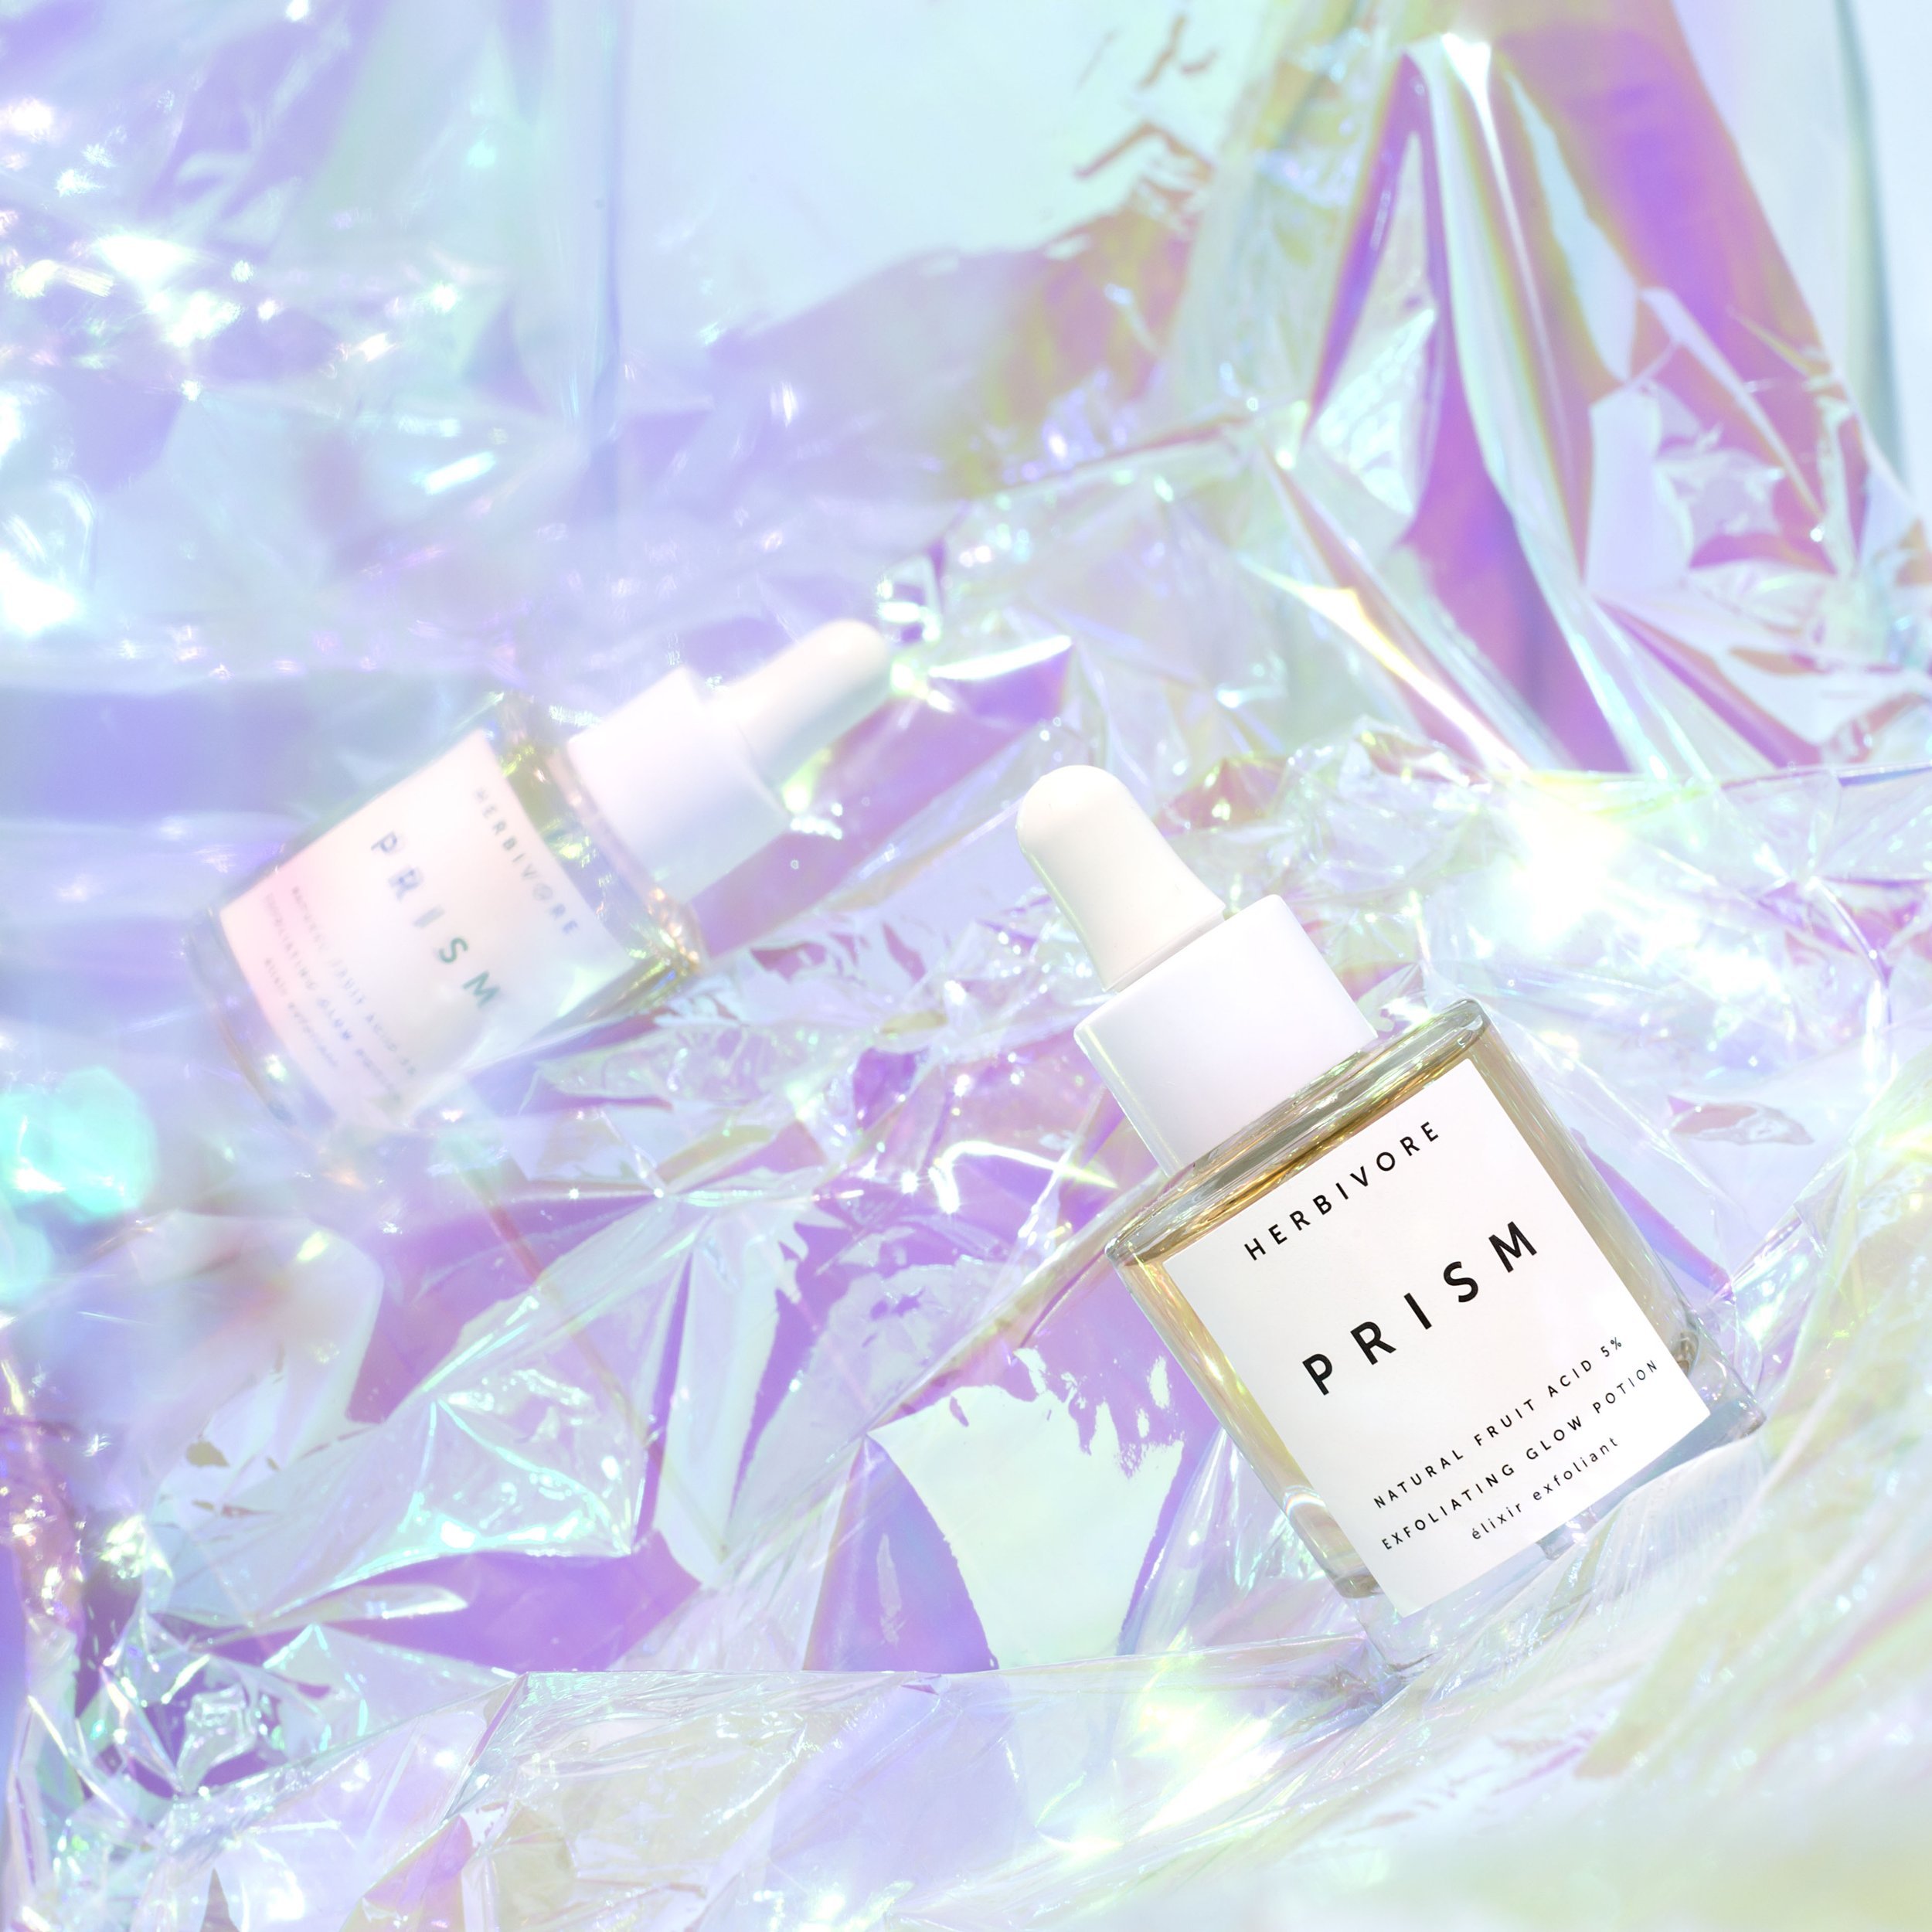
The Macro Shot (Close Up)
Last, but certainly not least, is the macro shot. Although this may not be an angle per se, it is an interesting shot that could accompany another image using the angles we just mentioned. This type of shot is up close and personal and it's a way to zoom in and emphasize the texture and/or detail of your subject.

Well, there you have it guys! A breakdown of some of the angles that you can use in your product photography to either emphasize or convey a story It's all about how you show off the products and the story you are trying to tell. Don't be afraid to explore some of the angles that you don't typically shoot in because it will only strengthen your creative eye.
Is it the weekend yet?
Arabela